Best White Chocolate in the World
This article explores the origins and history of chocolate, tracing cacao’s use and cultural significance among ancient Mesoamerican civilizations like the Maya and Aztec. It

This article explores the origins and history of chocolate, tracing cacao’s use and cultural significance among ancient Mesoamerican civilizations like the Maya and Aztec. It
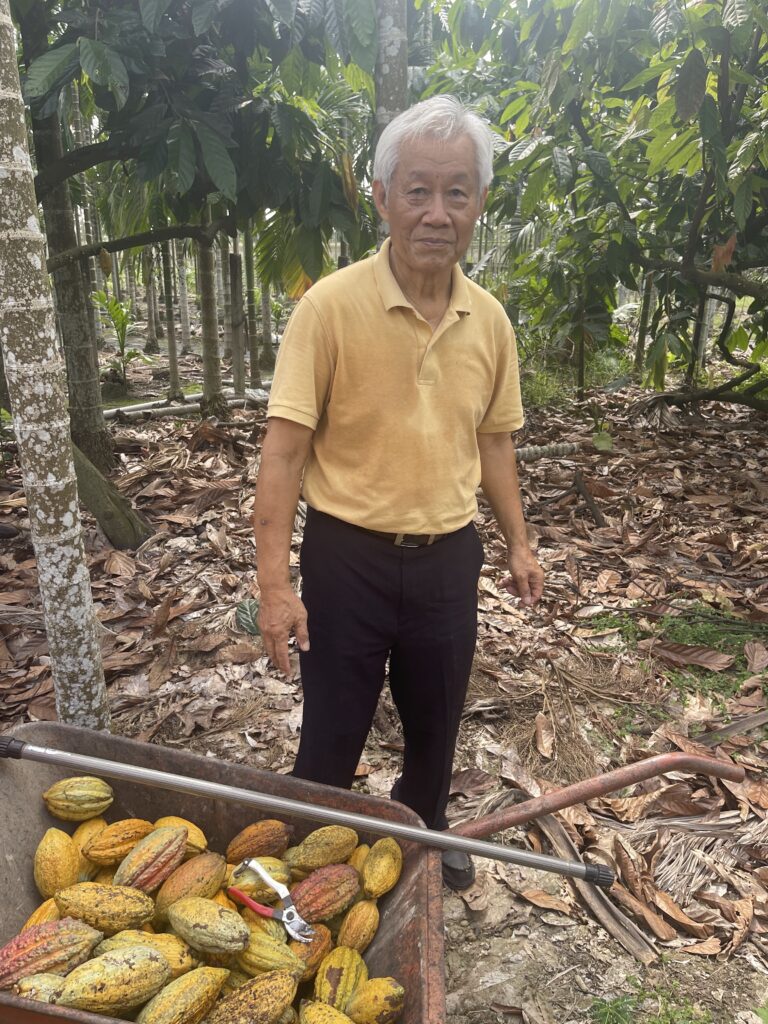
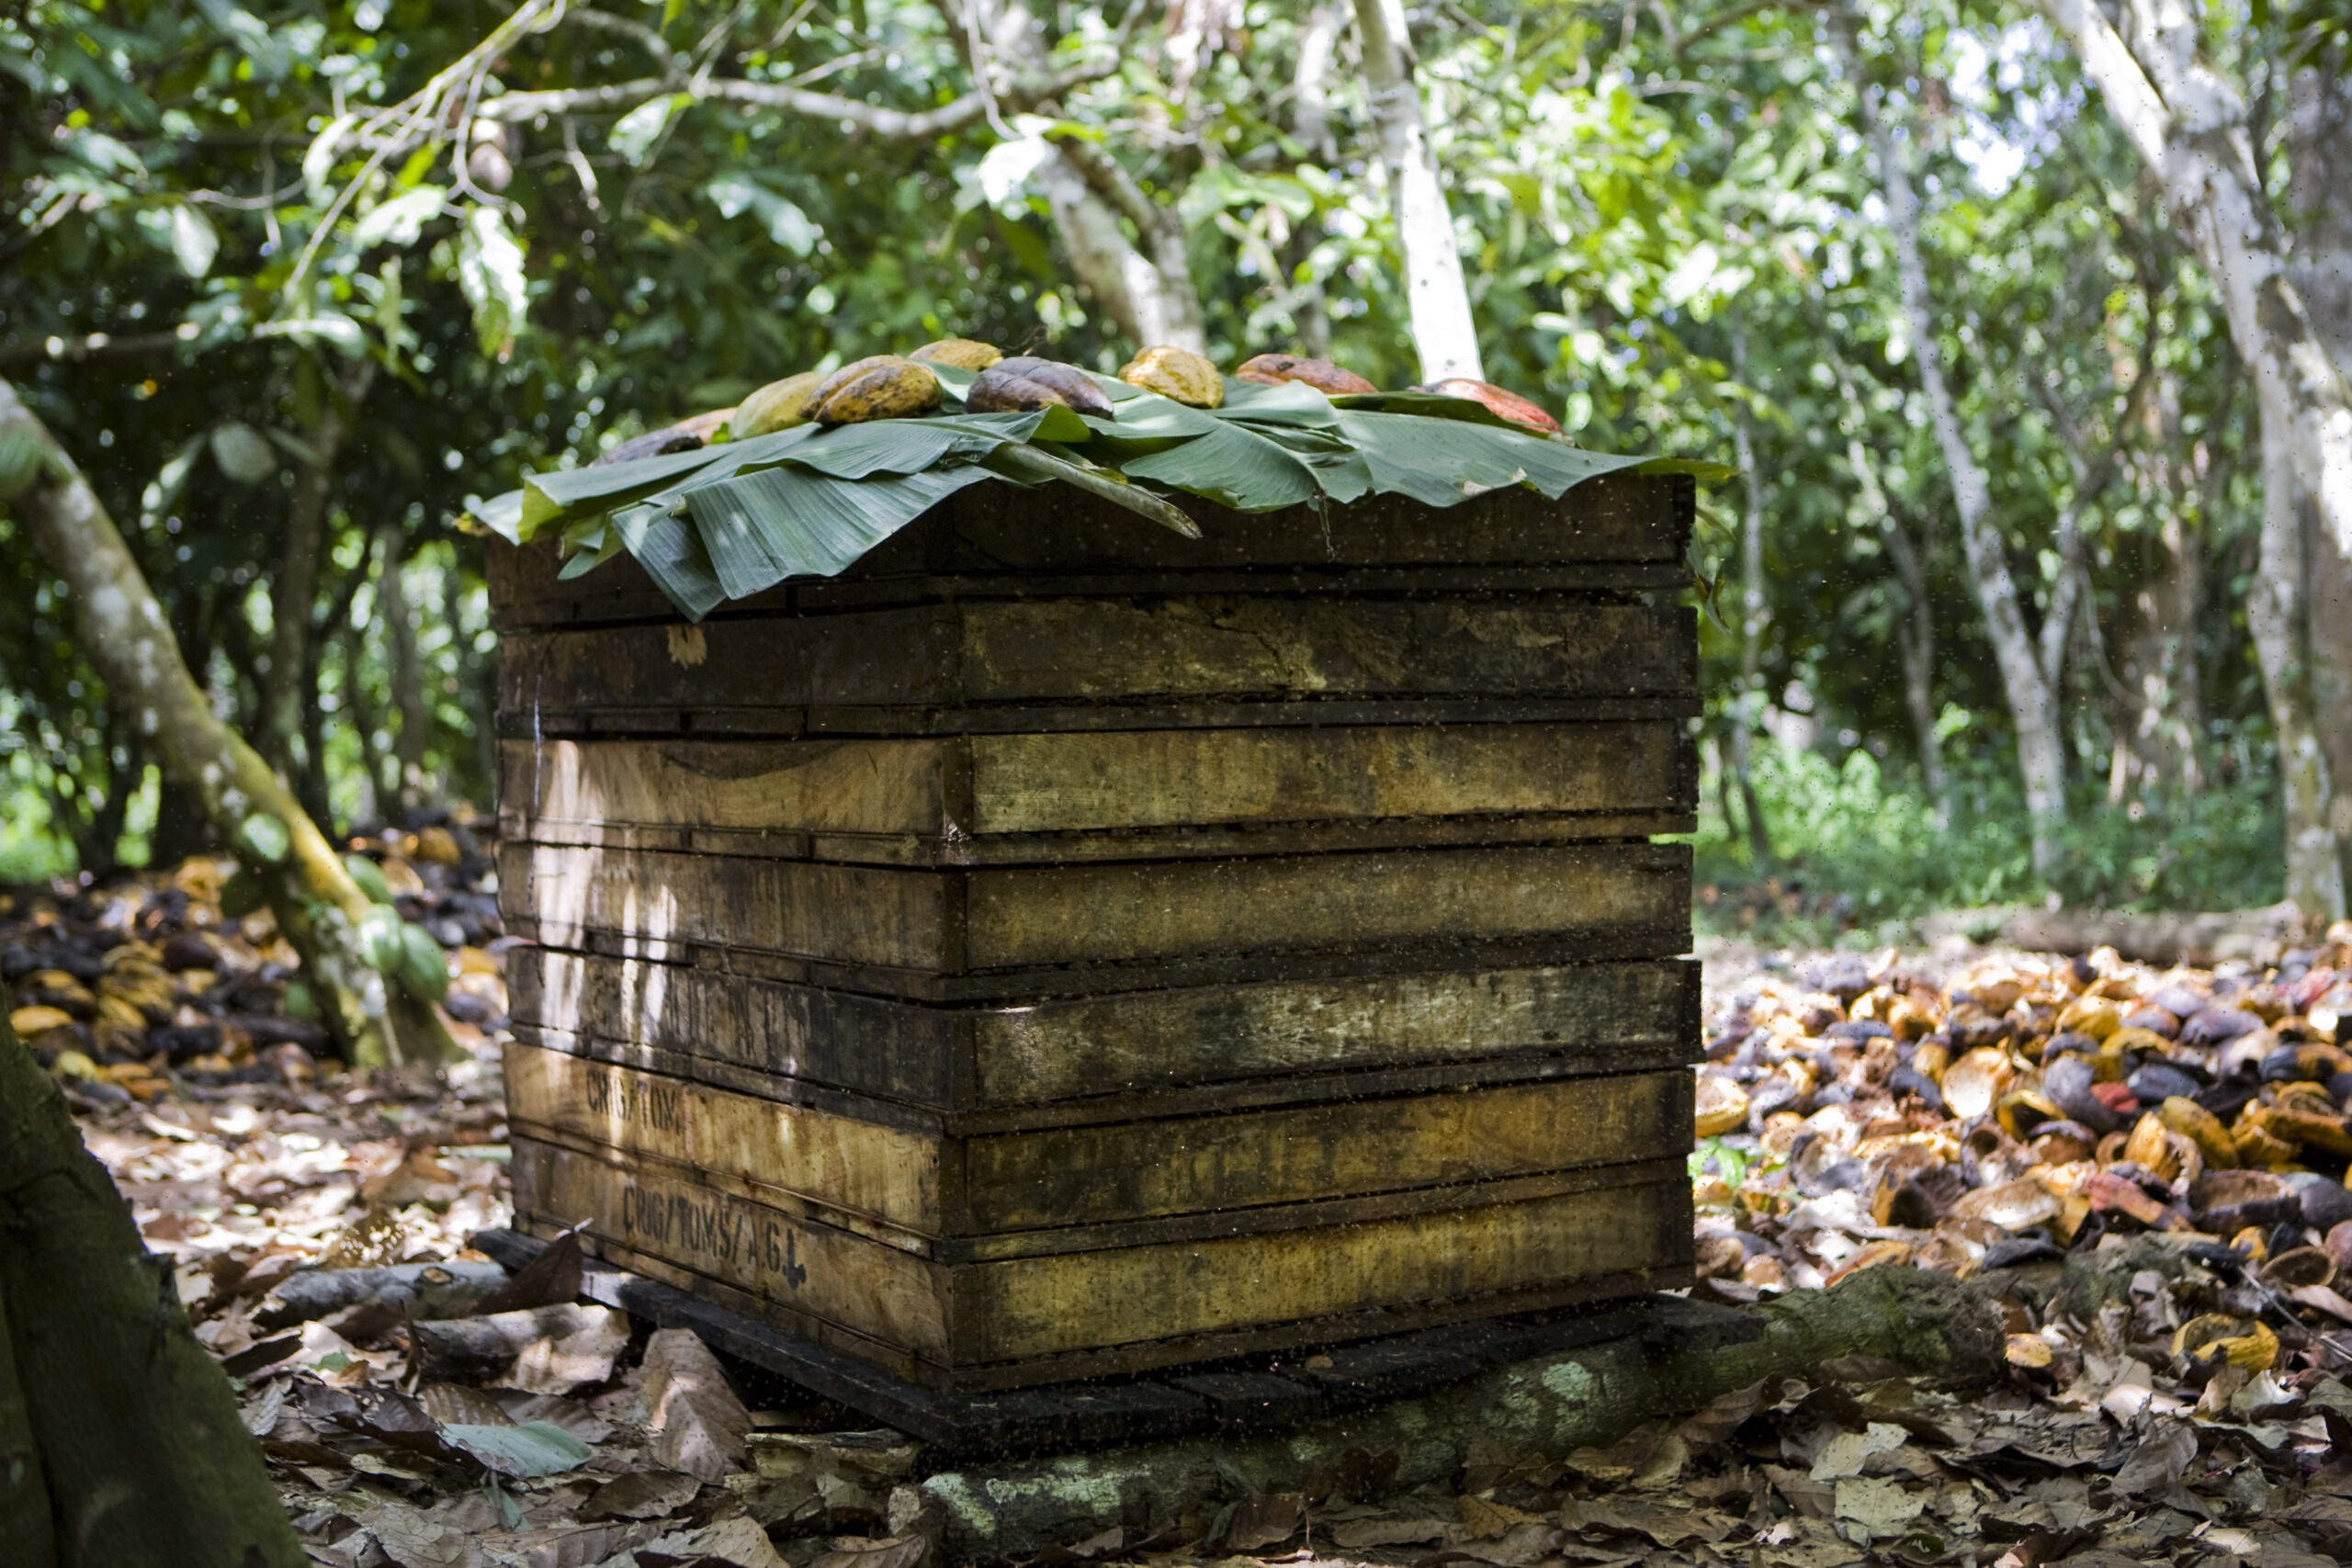
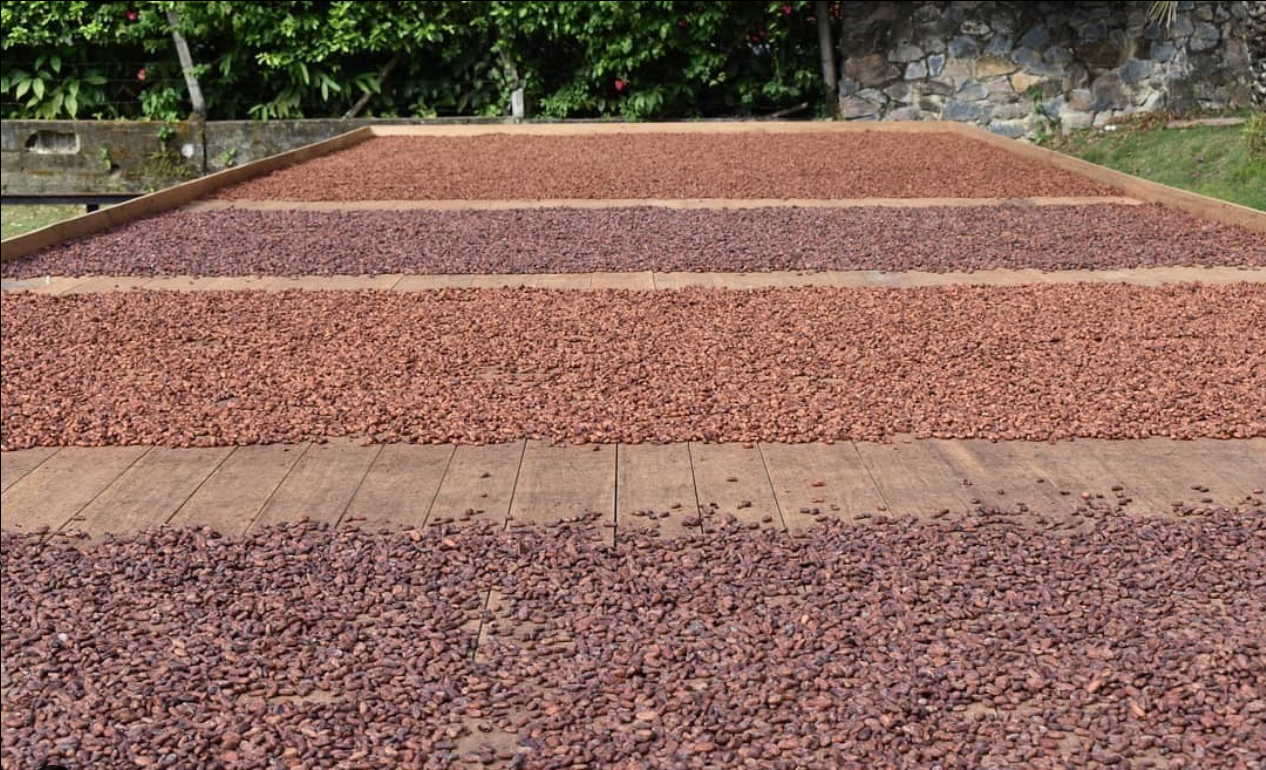
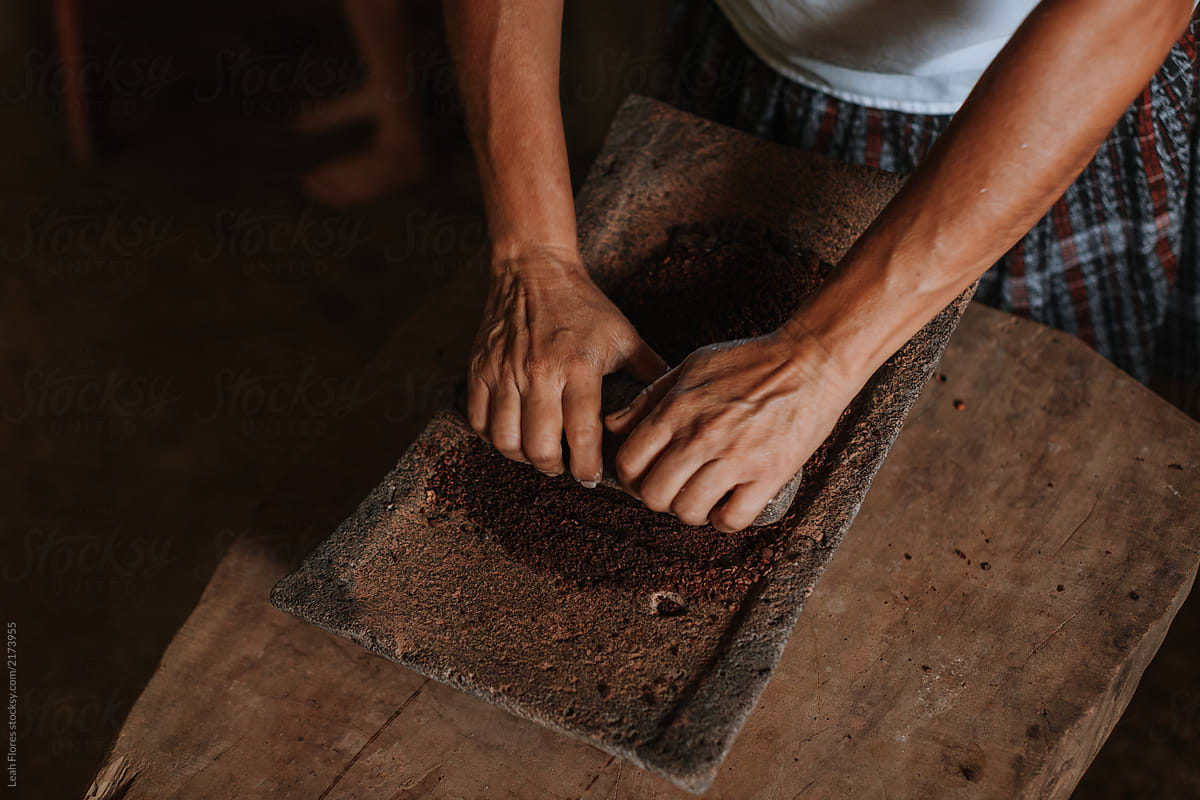
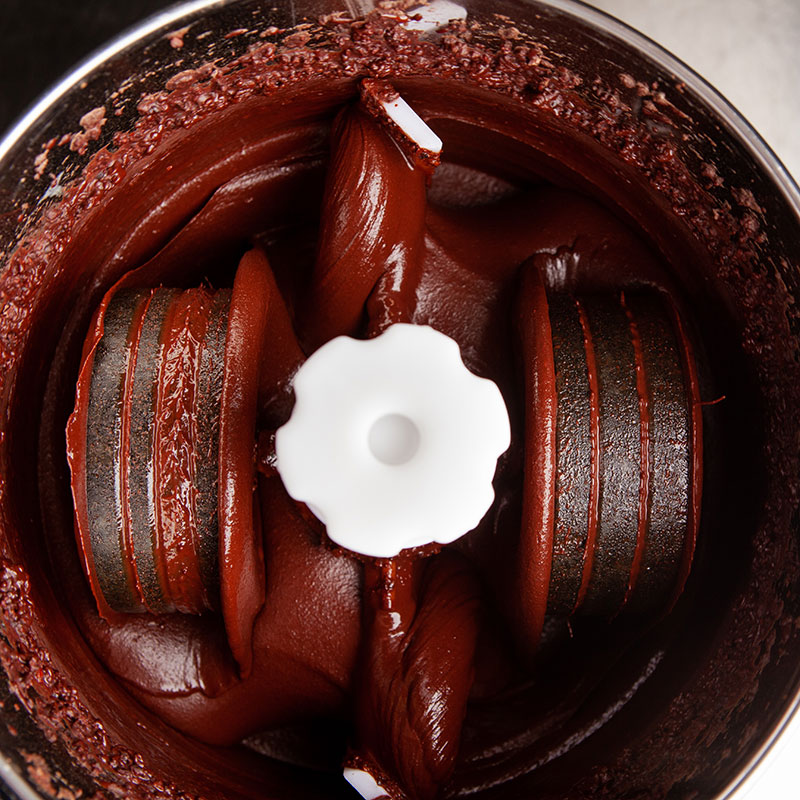
Embark on a journey through Taiwan’s lush Pingtung County, where 77-year-old Mr. Chou pioneers small-scale cacao farming, and award-winning chocolatier Jade Li transforms each harvest

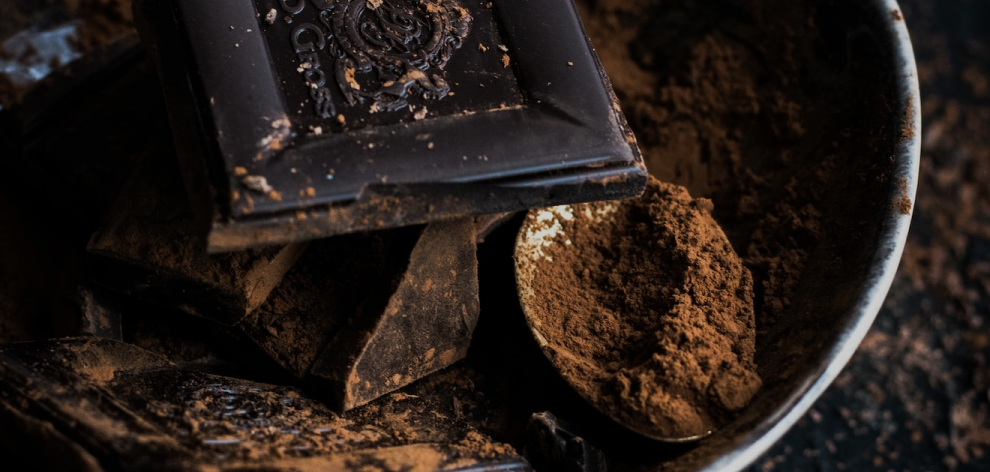
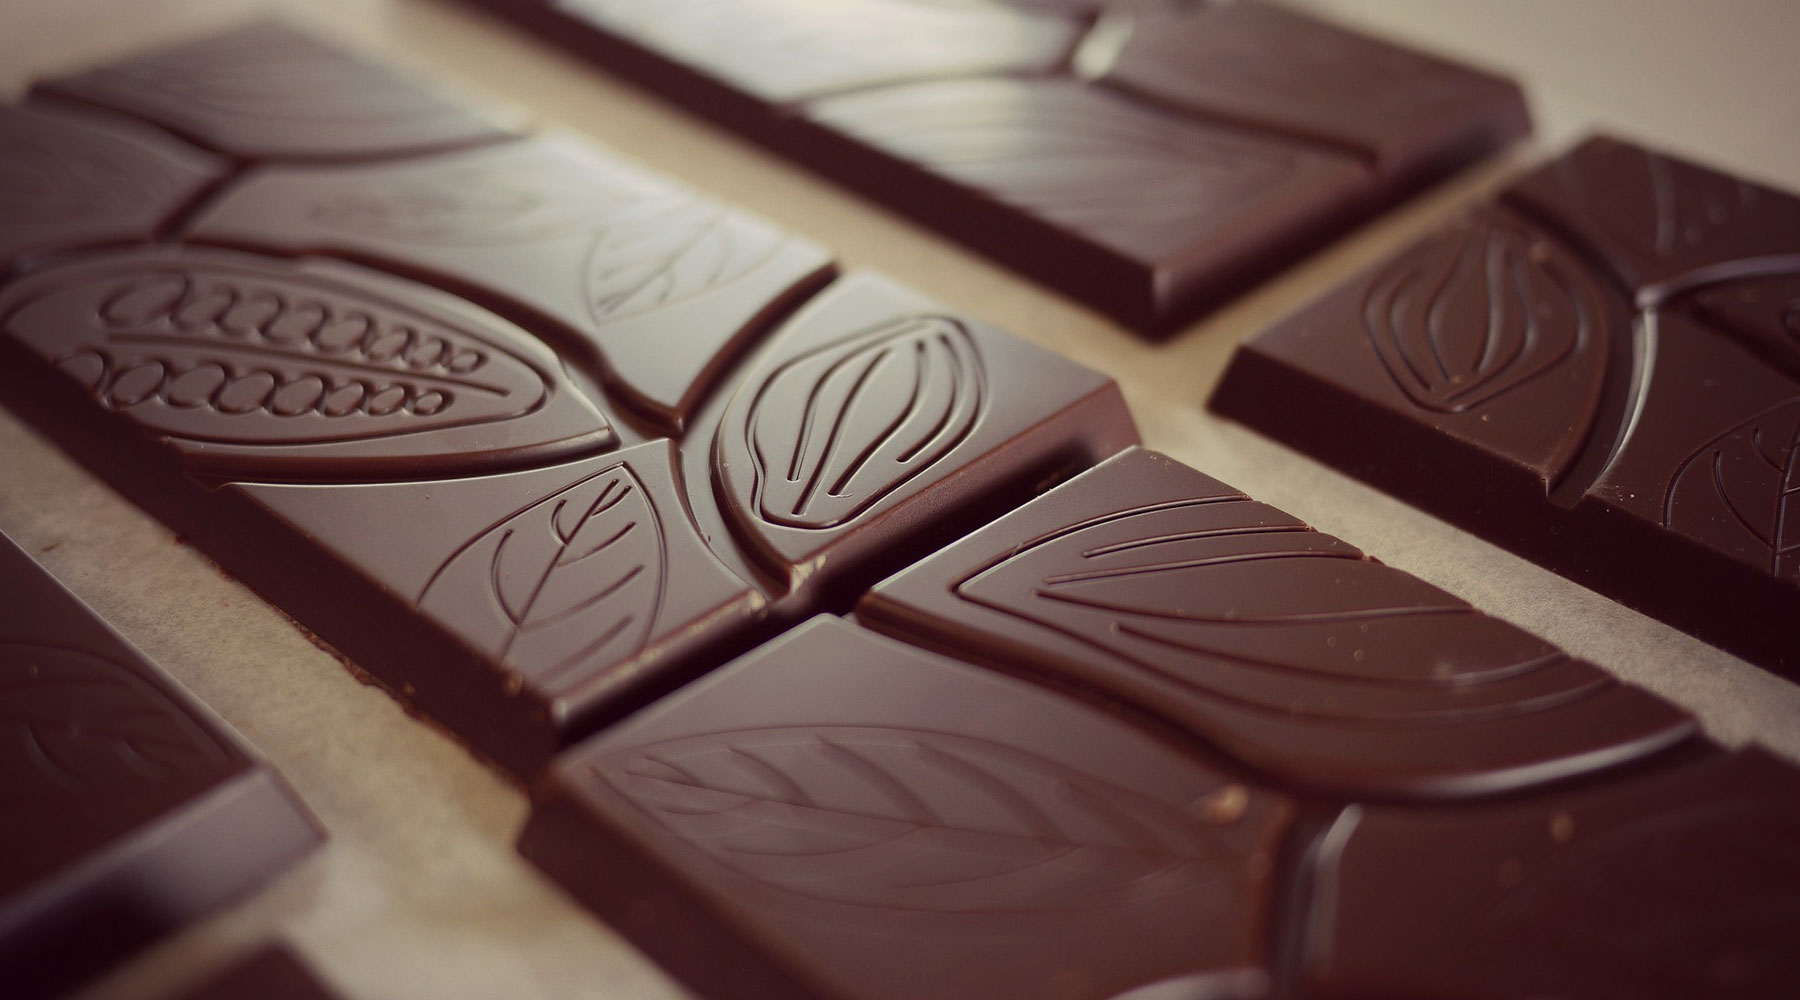
Explore the delicious evolution of the best-selling chocolate bar, indulging in a rich history of flavor innovation and timeless satisfaction. Join us on a sweet journey through the irresistible transformation of the chocolate bar.